Love your fan but wish it had a ceiling light or a way to make it brighter? You can often add a light to a ceiling fan that doesn’t have one.
A ceiling fan light kit offers an affordable way to improve lighting. Here are some key things to consider before getting started.
How to Tell if Your Ceiling Fan Can Handle a Light Kit
Before you start shopping for a light kit or pulling out tools, it's important to confirm whether your ceiling fan was designed to support one. Not all fans are wired for lights, even if they look like they might be. Here's how to find out what you're working with:
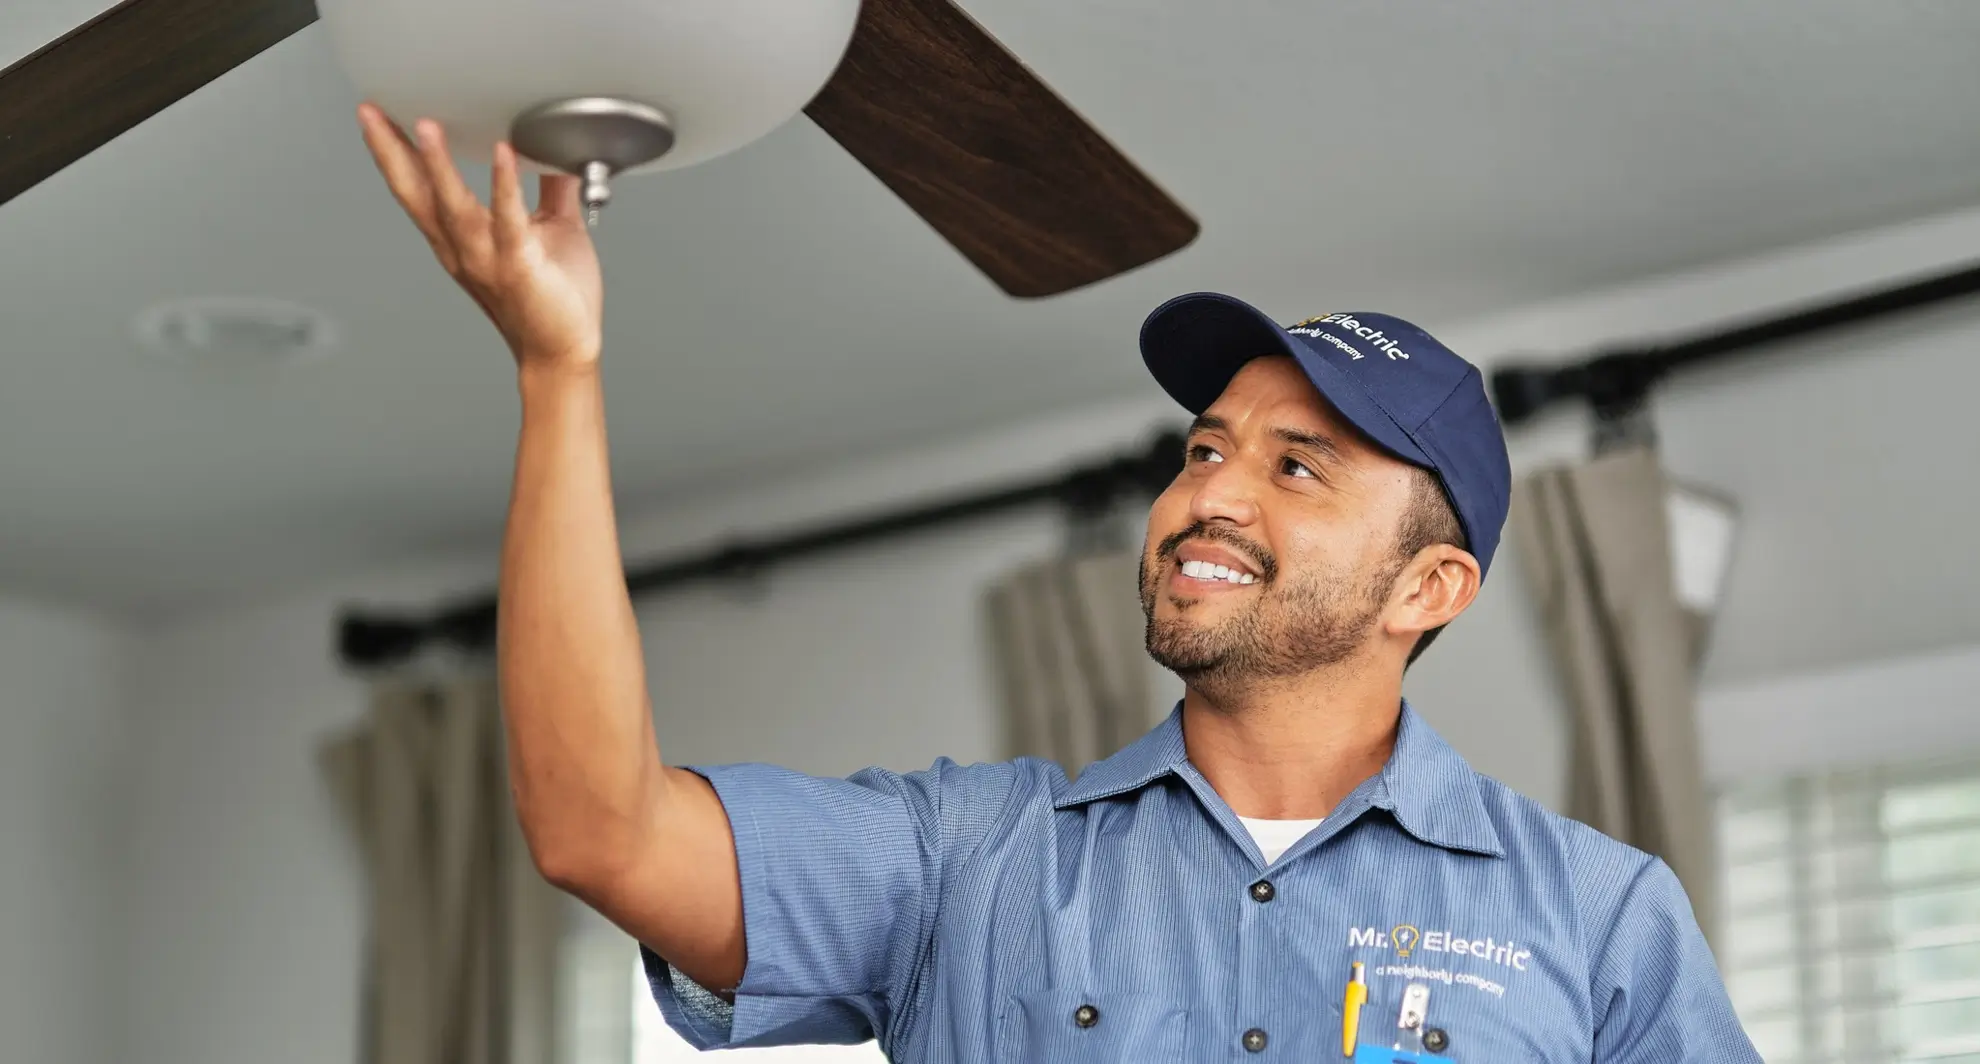
1. Check for a light kit wiring connection
The easiest way to know if your fan is compatible with adding a light is to check the housing, specifically the bottom cap or switch housing (sometimes called the "nose"). Many fans come with a removable cap where a light kit would attach. If it's removable and you spot black (power) and white (neutral) wires, you're likely in business.
2. Dig into the manual (or model number)
Lost your manual? Don't worry. Most ceiling fan brands have online PDFs available. Search using the model number, which is typically found on a label at the top of the fan motor (you might need to drop the fan down slightly to see it).
Check the manufacturer's notes for phrases like "light kit adaptable" or "light kit compatible." If it's not mentioned at all, assume it's not meant to be modified.
3. Look for a remote setup
Fans that are remote-controlled are almost always designed with a light option in mind, even if the kit wasn't installed at purchase. In contrast, single-speed fans or minimalist designs may not have been wired for expansion.
4. Watch for signs of aftermarket modifications
If someone else has already tried to add a light to your ceiling fan, there might be spliced wires or unconventional mounting hardware behind that bottom cap. If anything looks out of place—or worse, unsafe—it's best to pause and let an electrician take a look before moving forward.
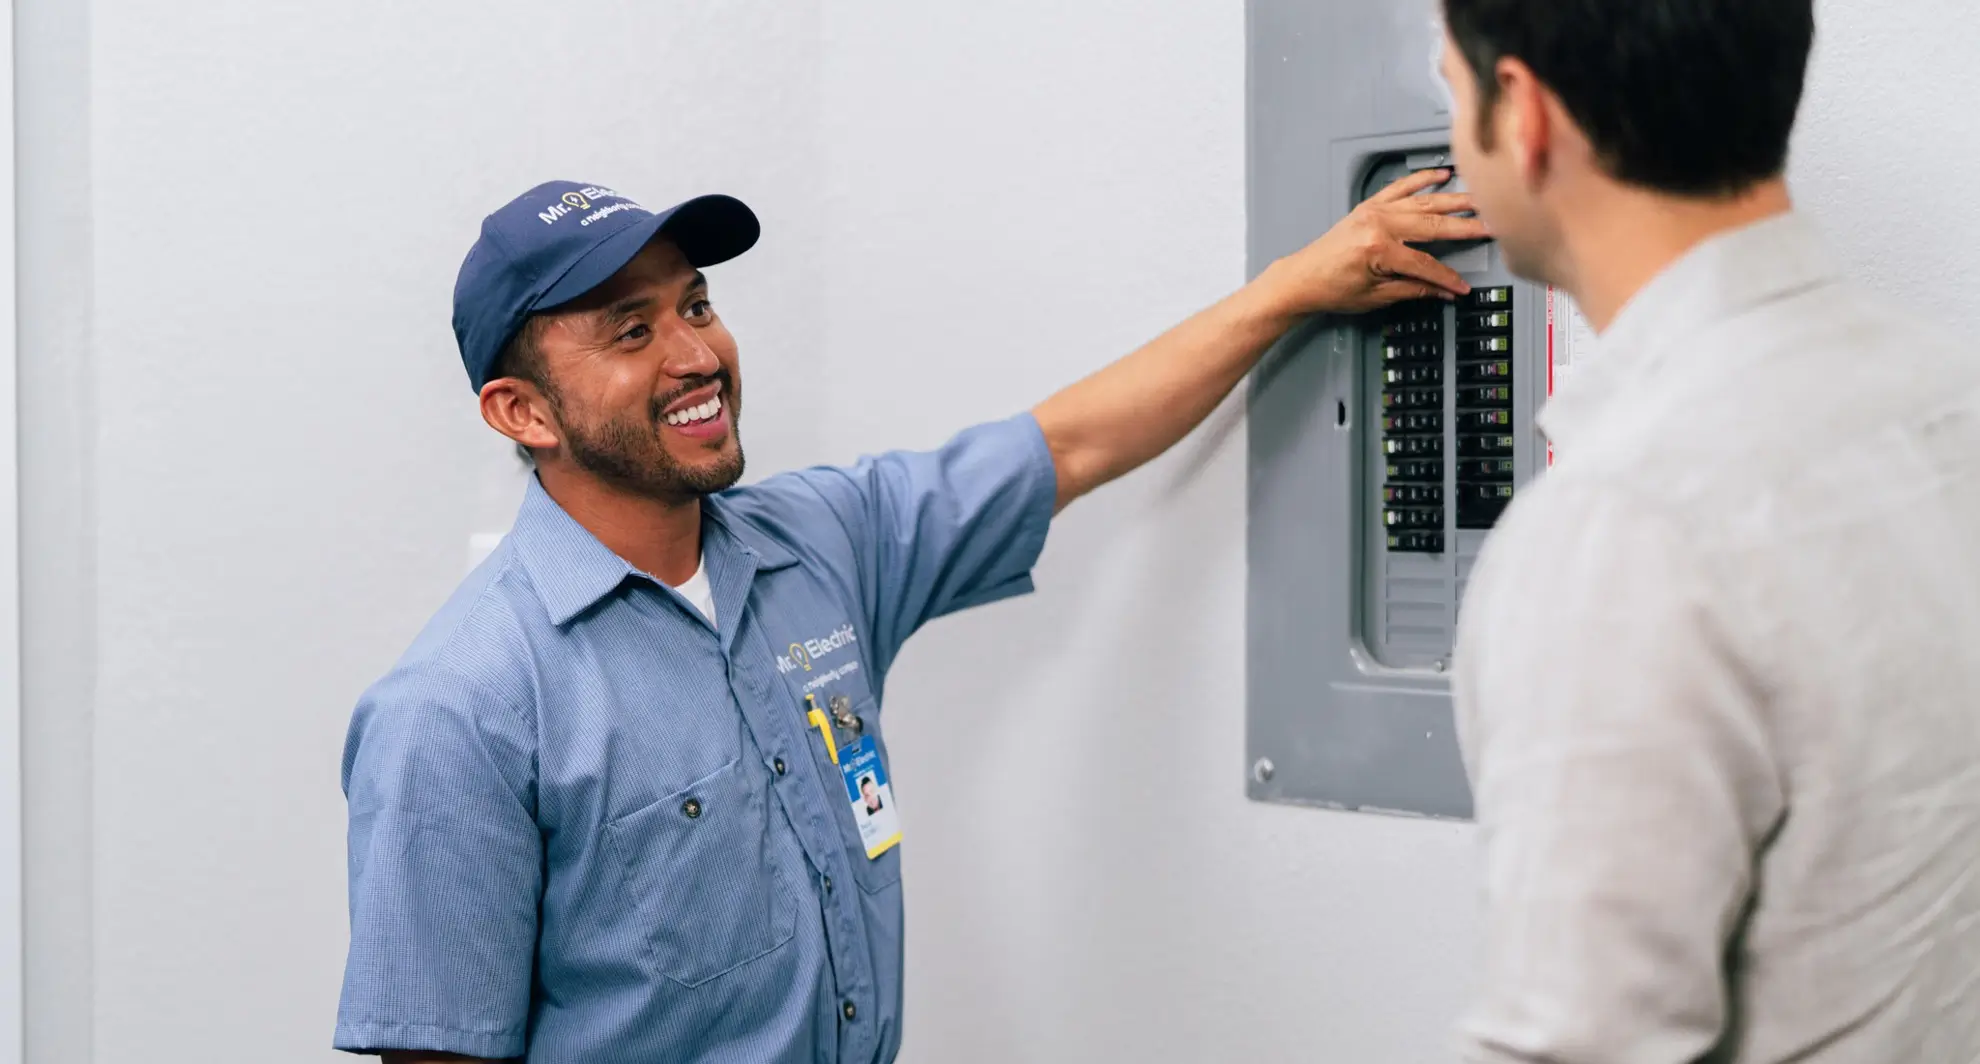
When in doubt, call in backup
Even if your fan looks like it should support a light kit, wiring surprises are common, especially in older homes. An inspection by an electrician, like your local Mr. Electric®, can save you time, frustration, and a return trip to the hardware store. It's the simplest way to make sure your setup is safe, compatible, and ready to shine.
If your fan isn't wired for a light kit, you may want to replace it with a model that includes lighting. Your local Mr. Electric is highly skilled at replacing and installing ceiling fans.
Where to Purchase a Ceiling Fan Light Kit
Ceiling fan light kits are available from your local home improvement chain, hardware store, or specialty lighting store. They typically cost around $20 to $50 depending on the fixture type and features.
Be sure to measure the attachment point (the diameter of the opening) on your ceiling fan assembly before you go, so you don’t end up standing in the aisle scratching your head. Jotting down the company name and style/model number of your fan should simplify this task. Again, if you're not certain, an experienced electrician can help identify the right kit for your fan.
How to Add a Light Kit to Your Ceiling Fan
When you're ready to add a light to your ceiling fan, make sure to follow these steps:
- Turn off electricity to the fan at the breaker or fuse box. Turning off the entire panel is recommended to ensure safety. Double-check the fan is off by attempting to turn it on.
- Remove the ceiling fan for installation via tabletop for ease-of-access, or if you’re feeling brave and extra-coordinated, install it while standing on a stepladder.
- Remove the screws hanging below the fan's center holding on the decorative center plate, then remove the plate to expose the wiring. Keep careful track of parts set aside. You should not need the cap, but you may need the screws.
- On most fans, dedicated wiring for a ceiling fan light kit will be visible and labeled “lighting power” or something similar. You are looking for two wires: A white (neutral) and a black (power) wire that will correspond with the wires on your new light assembly.
- Feed the light fixture's white and black wires through the hole in the center plate. Line up the matching wires so they are parallel, then screw on a wire nut to each set: White to white; black to black. The light fixture is now wired.
- Screw the light assembly onto the center plate of the fan, ensuring it is firmly attached.
- Re-attach the center plate to the fan body, replacing the screws that hold the center plate in place.
- Install light bulbs, shades, and pull chains as instructed by the manufacturer.
- Re-install the fan onto the ceiling, then turn the electricity to your fan back on to check your work.
Why Hiring a Professional Makes Sense
Installing a light kit might seem like a simple task, until you're staring at a tangle of wires that don't match the diagram or realizing the fan box can't support the extra weight of your light kit. That's where a trained and experienced electrician makes all the difference.
A trusted service professional won't just install the light kit correctly. They'll also make sure your ceiling fan is wired safely, grounded properly, and the corresponding breaker is able to handle the added load. That's especially important in older homes, where wiring may not be up to current code or where "DIY fixes" from previous owners are lurking behind closed walls.
You also avoid the classic headaches: flipped breakers, flickering lights, or an install that works until it doesn't. Plus, with Mr. Electric, your service comes backed by the Neighborly Done Right Promise® which ensures you’ll be happy with our work.
Hiring a pro isn't overkill. It's just a smart move when safety, quality, and peace of mind matter.
Let Mr. Electric Handle the Hardwired Stuff
Ceiling fans with light kits are a great upgrade, if they're installed correctly. Don't second-guess the wiring or wrestle with ceiling brackets. Your local Mr. Electric can take care of the whole setup safely, quickly, and without the guesswork. Schedule your ceiling fan service today and let the pros get it done right the first time.
This article is intended for general guidance only and is not applicable to every situation. You are responsible for determining the proper course of action for your property and situation. Mr. Electric is not responsible for any damages that occur as a result of advice and/or guidance derived from its blog content.
Some Mr. Electric services vary by location. Contact your local Mr. Electric franchise for more information.
FAQs About Adding a Ceiling Fan Light
The safety of you, your family, and home are the top priority of every Mr. Electric service professional. Our safety-first commitment to solving your electrical issues includes a meticulous attention to detail on every job. Our commitment also includes using our years of experience to answer your questions. Below are answers to some of the most frequently asked questions about adding a light to a ceiling fan.
Can you install a ceiling fan light kit without turning off the power?
No, and we can't stress this enough: Always turn off the power at the breaker before starting any electrical work. Flipping the wall switch isn't enough. Skipping this step is a fast track to injury or damage.
Do I need a special remote or wall switch after adding a light kit?
Not necessarily. If your fan already uses a remote or dual-function wall switch, your new light should work seamlessly with it. If not, you might need a new control setup, especially if you want to operate the fan and light independently. Your trusted electrician can help ensure you have the controls you need.
Will adding a light kit void my fan's warranty?
It depends on the manufacturer. Some brands allow add-on kits without voiding coverage, while others restrict aftermarket modifications. Check your warranty terms or call the manufacturer before making changes to your ceiling fan.
What if my ceiling box isn't rated for ceiling fan weight?
Then it's time to stop and call your local Mr. Electric. Ceiling fan-rated boxes are reinforced to support a fan's weight and movement. If your current box isn't sized to support a ceiling fan, it needs to be replaced before any wiring or installation begins.

